


Discover the top tips and application tricks for a flawless, streak-free self-tan application every time.
If you’re new to sunless tanning, rest assured that we have all the tips and tricks to ensure you easily achieve a streak-free, flawless tan every time. For the best self-tanning results, try these four easy steps to prepare your skin before your tan application.
Step 1: Shave, wax, and do everything else first
If you want your tan to stick around, you must prep your skin correctly. If you need a wax or manicure, to wash your hair or shave your legs, do it before applying the tan. These treatments can remove the tan or prevent it from fully developing. We recommend doing these activities at least 24 hours before applying your tan.
Shaving and waxing can exfoliate your skin and remove layers of your tan, so it is super important to do this beforehand, or you can run the risk of your tan fading faster than usual or unevenly (which is so not cute)!
For the best results, avoid using moisturisers and oils during the 24 hours leading up to tanning, as these act as a barrier to the skin and will prevent the active ingredients in the tan from darkening and developing.
Step two: Exfoliate, exfoliate, exfoliate!
Exfoliating is the secret to a perfect tan. Polishing away any dry skin cells and old tan will leave you with a smooth and sleek base ready for your tan application. Applying tan to skin that is left unexfoliated will fade as the cells shed.
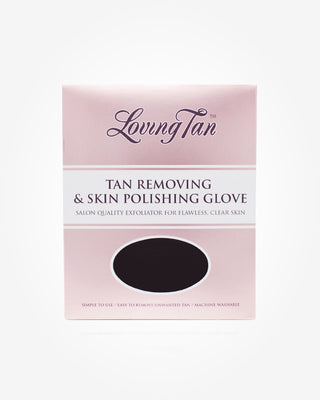
On top of that, tan can stick to dry skin and cause the tan to overdevelop in these areas, so it is essential to slough away any old skin cells with your Loving Tan Tan Removing & Skin Polishing Glove in the shower — focusing on rough spots like your knees, elbows, ankles, and heels.
Your Tan Removing and Skin Polishing Glove will gently and effectively lift and dissolve any old tan remaining on your skin and any product residues (shampoos, moisturisers, oils, etc.) that might prevent the tan from fully developing. We recommend exfoliating at least 24 hours before applying your tan to allow your pores enough time to cool and close.
How?
We're glad you asked. To properly exfoliate your skin, follow these easy steps from our Loving Tan experts:
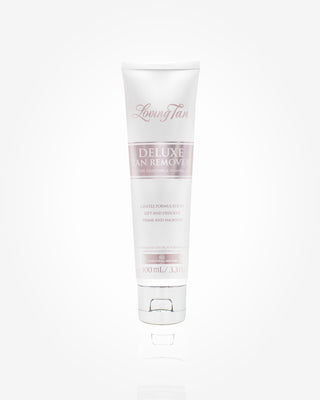
- Before showering, apply your Deluxe Tan Remover gel liberally to your body, paying attention to any built-up existing tan. Allow 10 minutes before showering.
- Rinse your skin under warm shower water for a few minutes and allow your skin to absorb the moisture.
- In the shower, use circular motions, and use your Tan Removing and Skin Polishing Glove to polish away any dead skin cells and unwanted tan.
- For stronger exfoliation, use the black side of your Tan Removing and Skin Polishing Glove to buff the skin in circular motions, using pressure as needed.
- For more sensitive areas that need lighter exfoliation, use the pink side of the exfoliation glove to remove dry skin or old tan.
- Finally, polish and smooth your skin using the pink side of your exfoliating glove.
Step three: Strategic moisturising is key
Remember how we mentioned those dry skin areas? It is important to hydrate your skin before applying tan to nourish dry patches and ensure a smooth application. Moisturiser will also stop the tan from over-developing in these areas and kick all telltale signs of your tan being fake right to the curb.
We recommend paying extra attention and generously applying moisturisers to your hands, feet, ankles, wrists, elbows and knees immediately before tanning. These are the typical dry areas tan may overdevelop.
Now, you’re all prepared to self-tan! We can’t wait to see your dark, natural-looking results.
Have a question or want to share the secret to preparing your skin before self-tanning? Please leave us a comment below. We would love to hear from you!